The Step-by-Step Process of a Kindig-it Build
Introduction
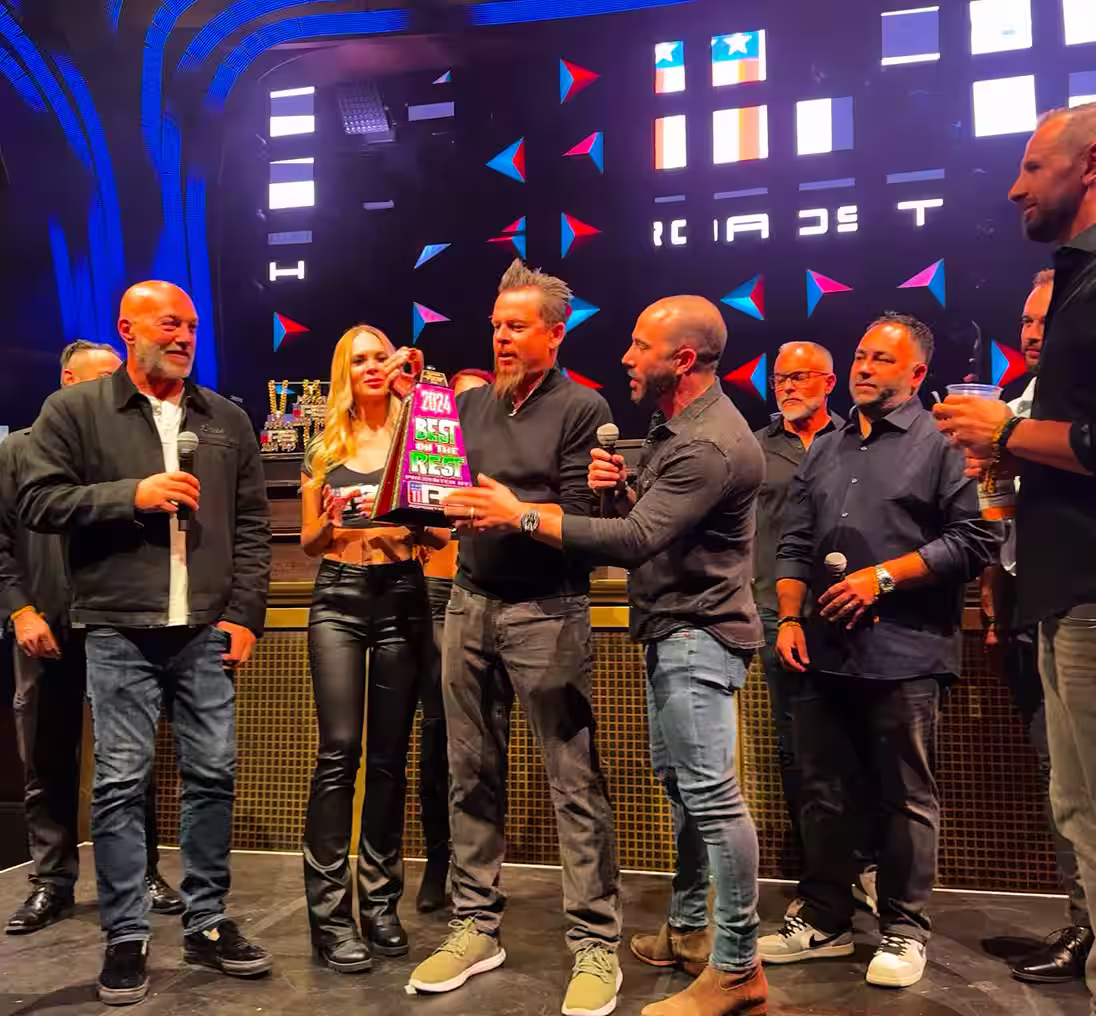
At Kindig-it Design, every build starts with a dream and ends with a one-of-a-kind custom car that blends performance, craftsmanship, and design. Here’s a behind-the-scenes look at the process that takes a client’s vision from sketch to the open road.
Step 1: Sourcing the Right Car
Every Kindig-it build starts with the client consultation. Once we know what car we’re building, the first real step is sourcing the vehicle. Sometimes the client already has a family heirloom that’s been in the garage for decades. Other times, we help track down the perfect candidate.
We often recommend starting with a car that’s already in decent shape. That way, we can focus on the custom magic instead of spending all our time rebuilding from rust.
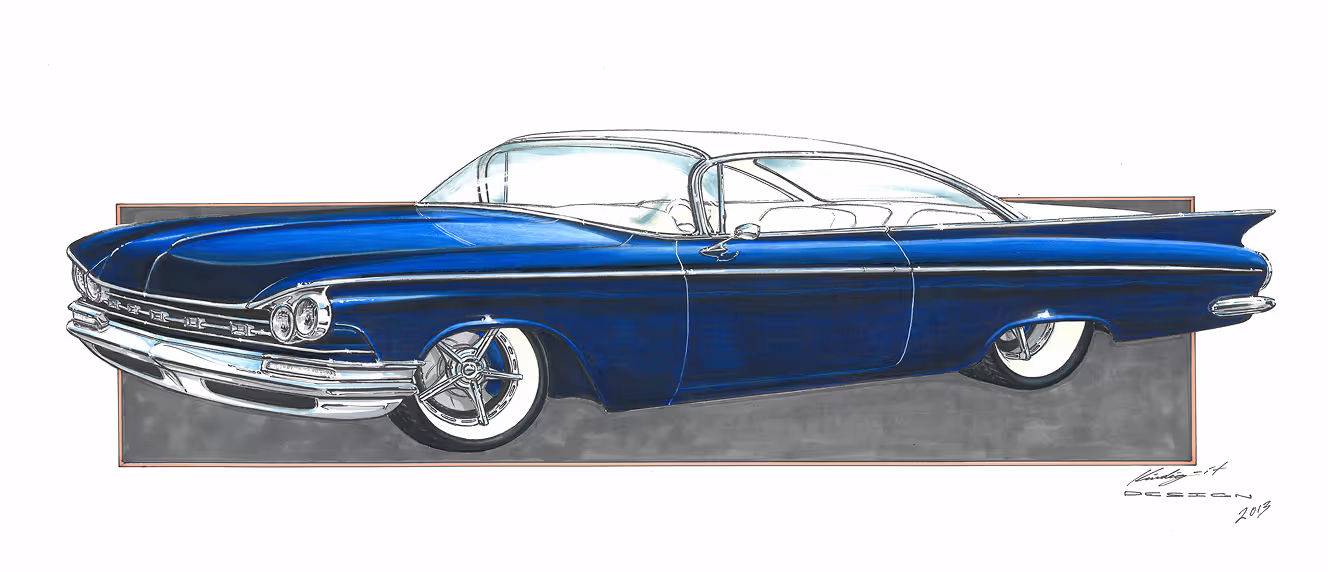
Step 2: Designing the Vision
The design phase is where the magic begins. The client sits down with Dave to talk about the overall look—whether it’s concours elegance, modern muscle, or a mix of both.
From there, Dave creates a set of renderings. Color schemes might come from our Modern Classikk paint line, or we might develop a brand-new shade just for the project. The final rendering is printed and hung in the shop so the entire team has a clear vision to follow.
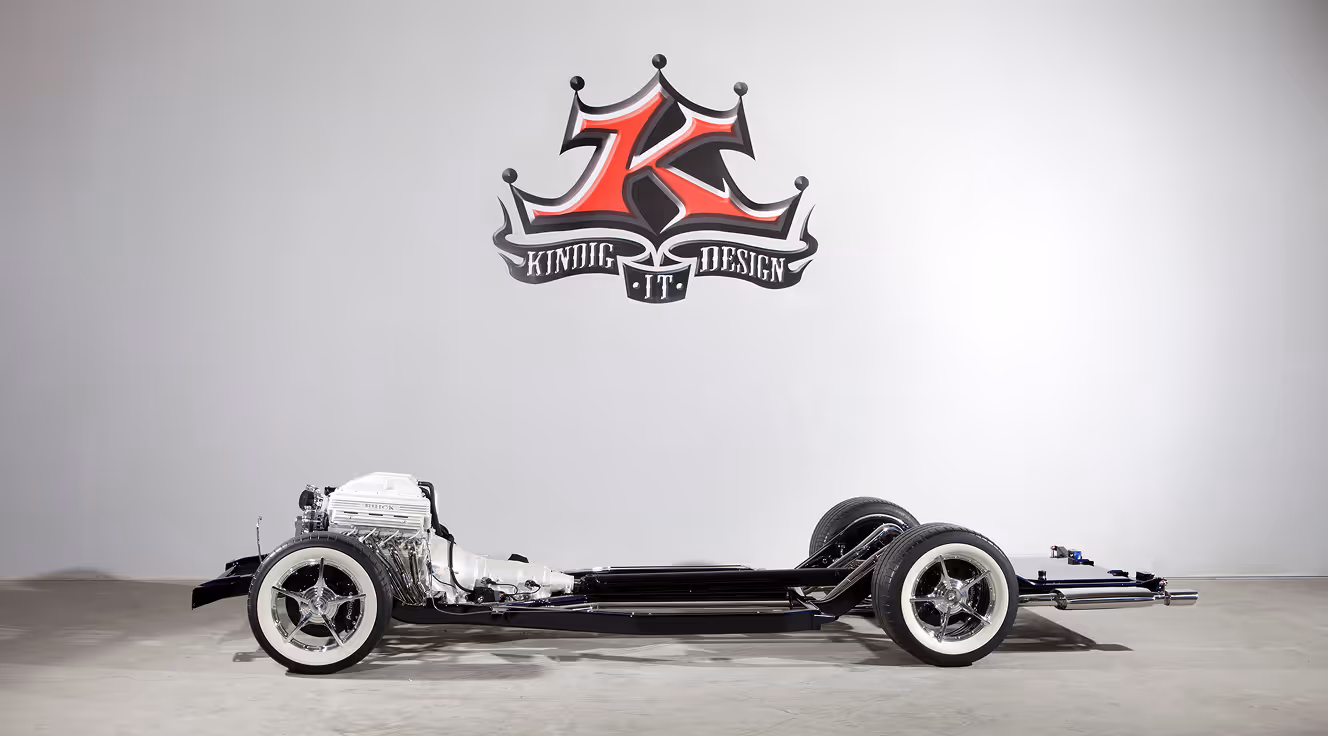
Step 3: Ordering Parts & Disassembly
Once the design is locked, we order the big components: frame, engine, suspension, and other custom pieces.
Then comes disassembly. The car is taken apart piece by piece, with every step photographed and documented. Parts are bagged, tagged, and organized so when the time comes for reassembly, everything fits perfectly.
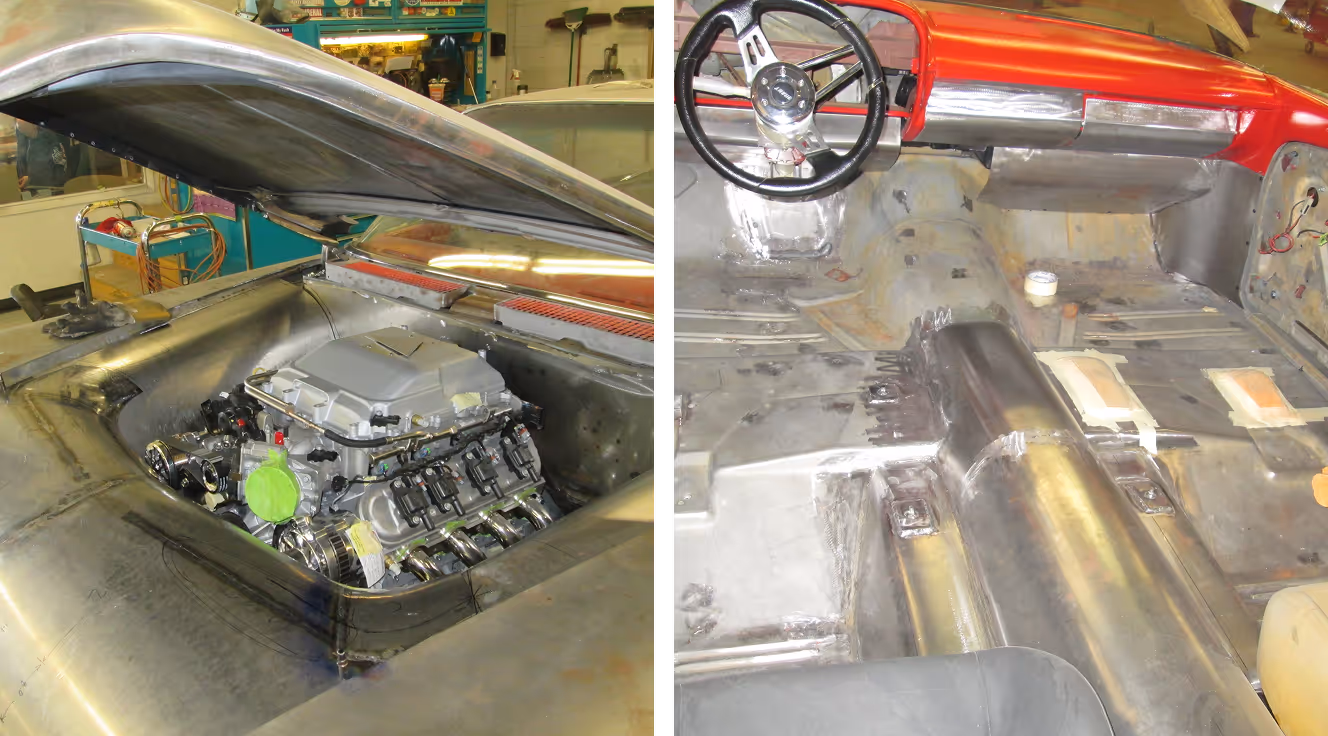
Step 4: Reinforcing the Foundation
Next, we make sure the structure is rock-solid. Floors are repaired or reinforced, brake lines and plumbing are laid out, and any rust repair is tackled.
Custom body modifications start here too—fender flares, bumpers, and fascia mock-ups often begin as cardboard templates before we commit to metal.

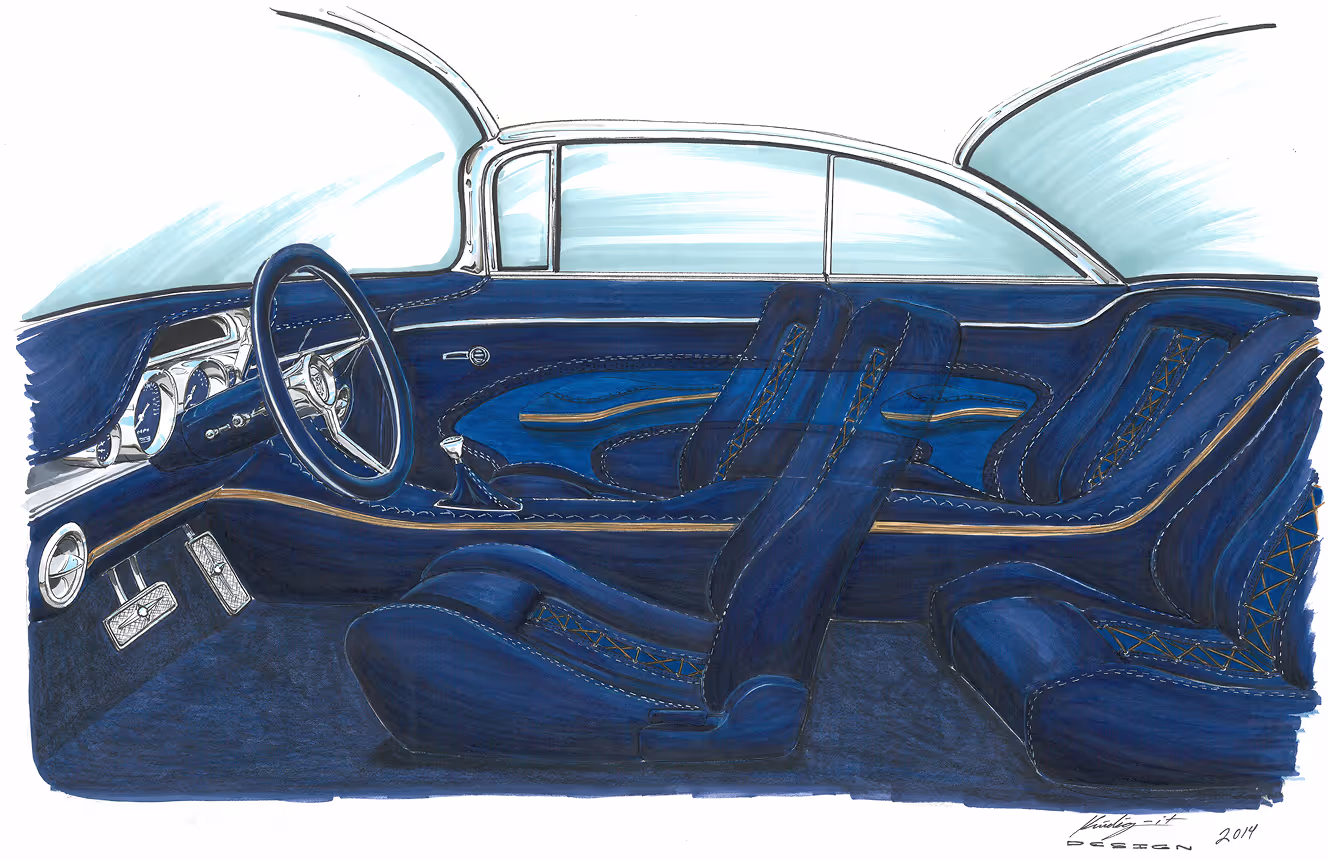
Step 5: Custom Fabrication and Mock-ups
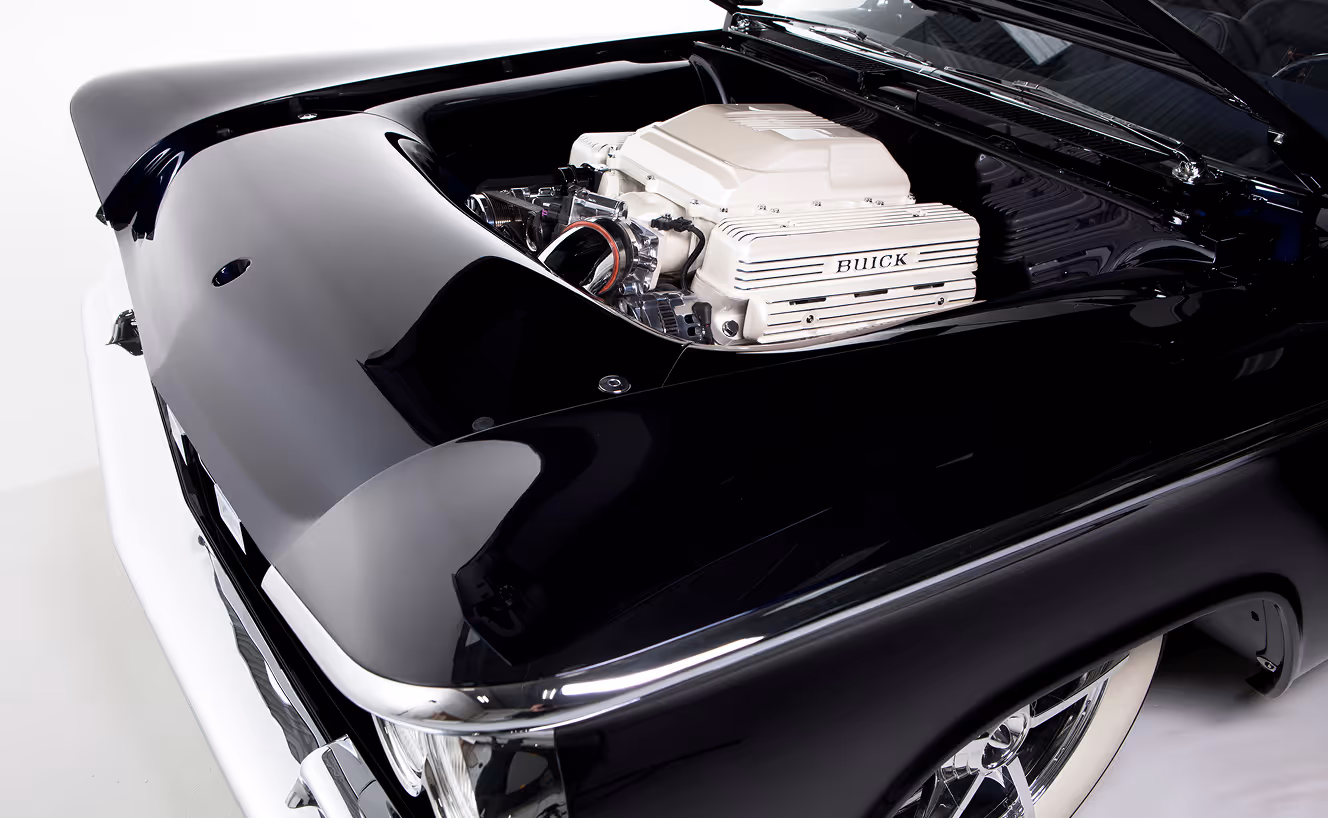
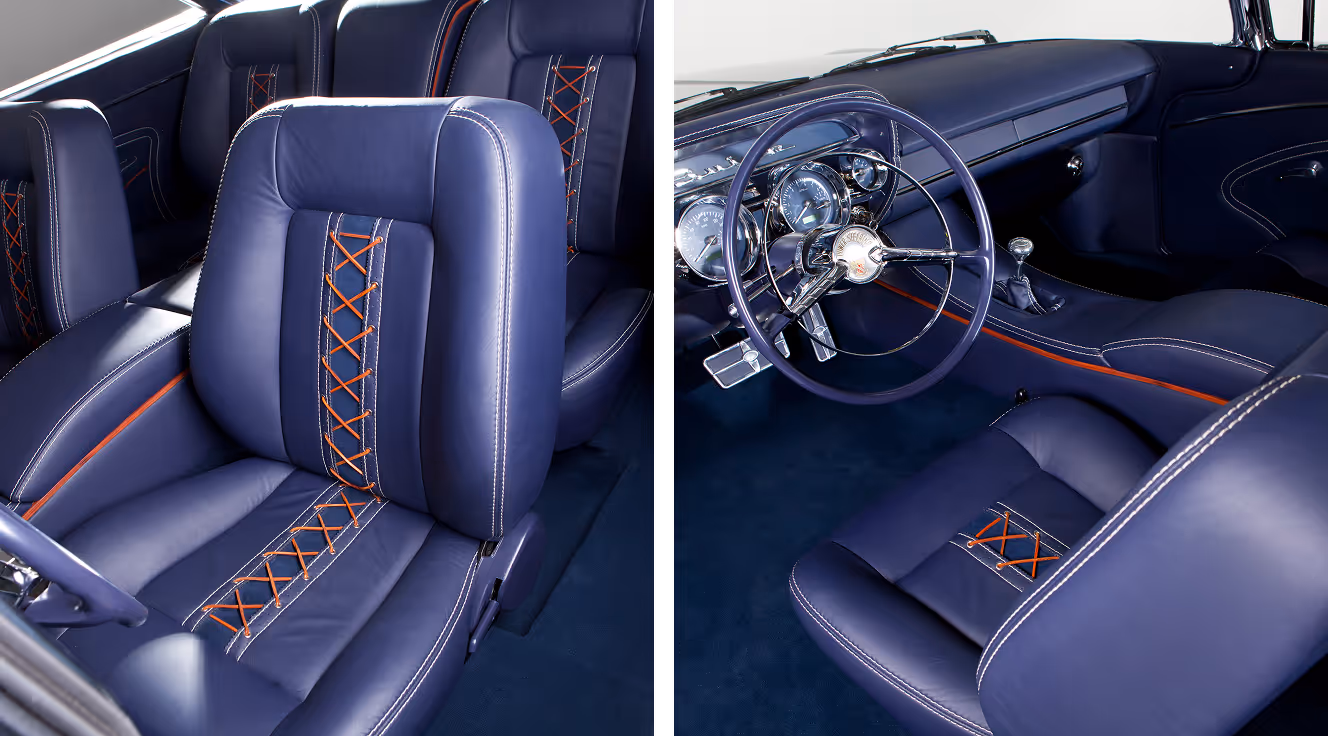
This is where the car truly transforms. We fabricate custom center consoles, dashboards, sculpted engine bays, and smoothed firewalls. Window shapes and body modifications are refined until every line flows.
Mock-ups are tested and adjusted before final metalwork begins, ensuring everything fits and looks perfect.
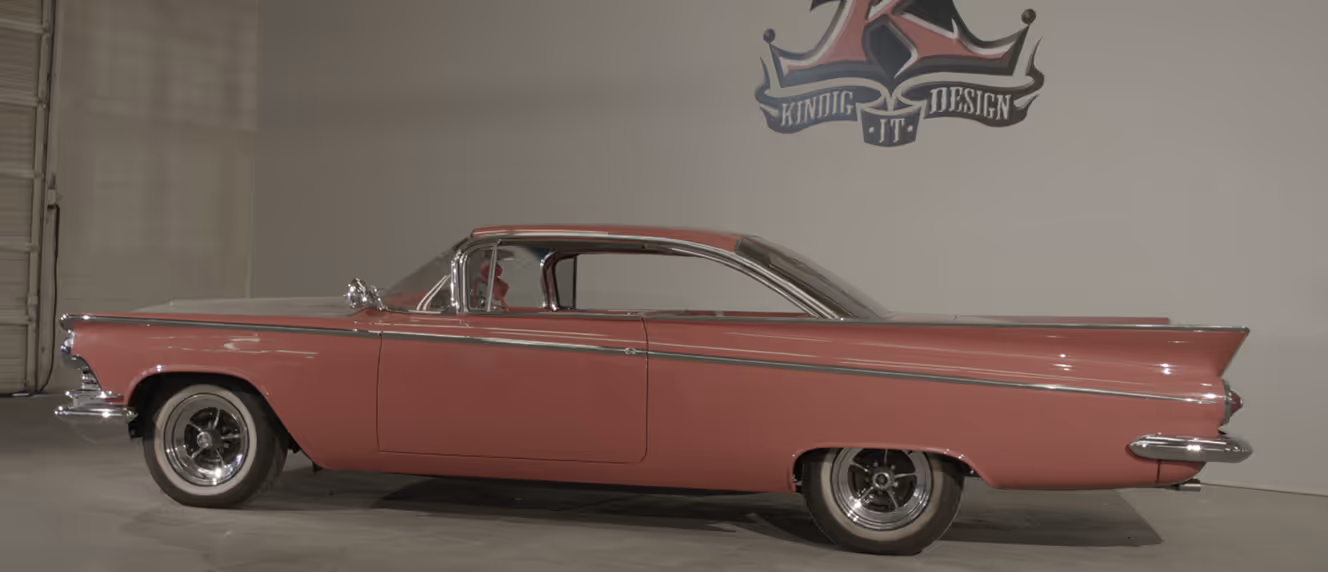
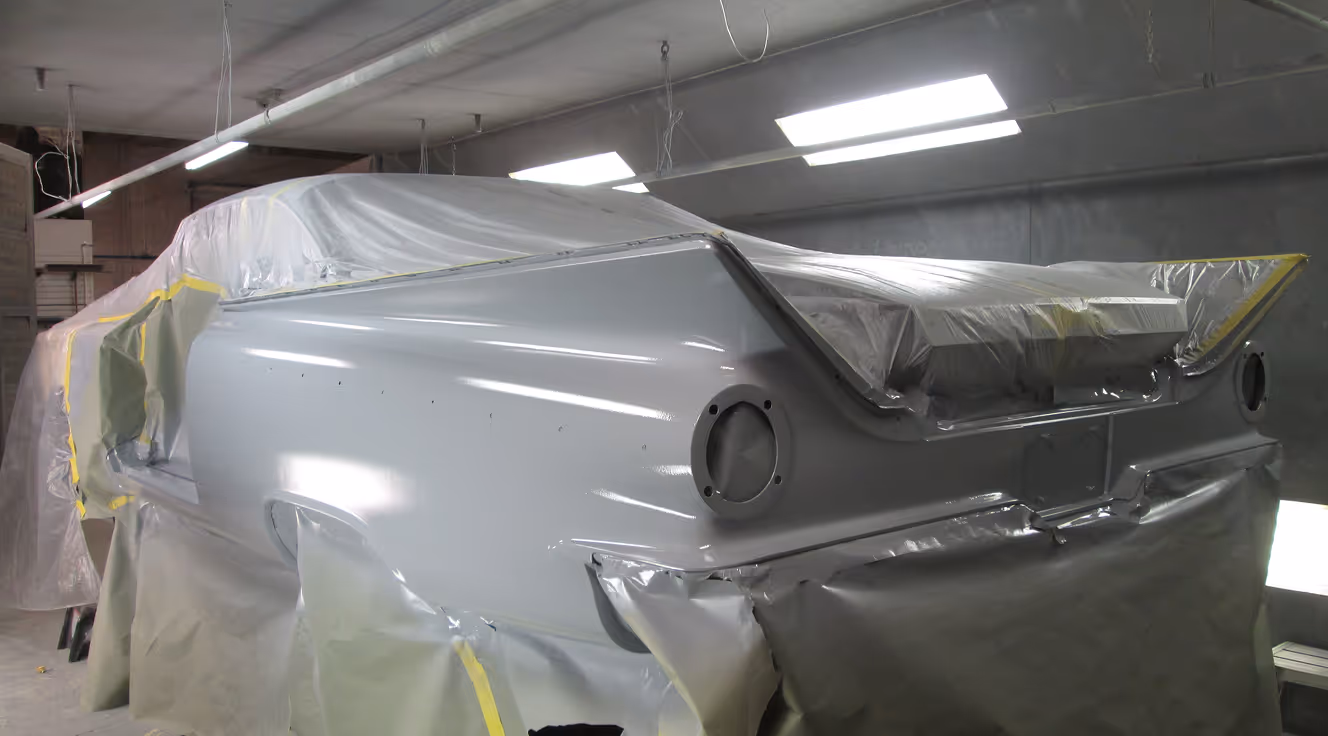
Step 6: Bodywork and Paint
Once fabrication is done, our craftsmen go over the body inch by inch. Every panel is smoothed, sanded, and prepped for primer.
From there, the car moves into our body shop where our body techs spend hundreds of hours perfecting the finish then our painter lays down AkzoNobel Sikkens products in flawless Modern Classikk colors. After countless hours of cutting and polishing, the finish gleams like glass.
Step 7: Assembly, Tuning, and Final Touches
Once fabrication is done, our craftsmen go over the body inch by inch. Every panel is smoothed, sanded, and prepped for primer.
From there, the car moves into our body shop where our body techs spend hundreds of hours perfecting the finish then our painter lays down AkzoNobel Sikkens products in flawless Modern Classikk colors. After countless hours of cutting and polishing, the finish gleams like glass.
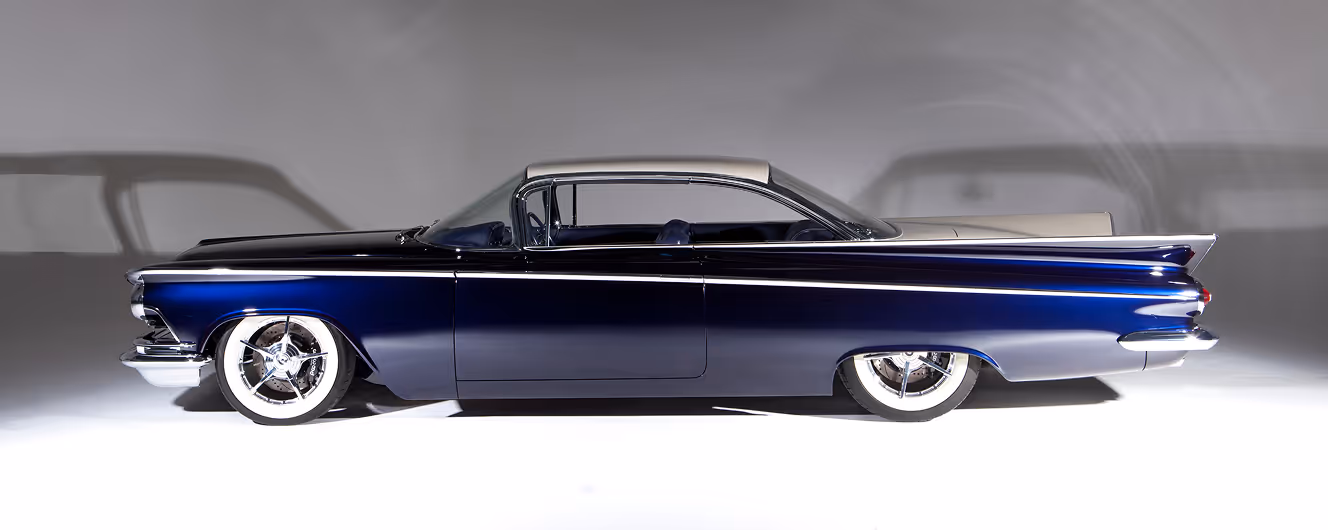
Conclusion: From Dream to Driveway
And that’s the journey—from the first sketch to the final test drive. Every step of a Kindig-it build is about turning a dream into reality, with no shortcuts and no compromises.
That’s what makes a Kindig-it car not just custom, but truly bitchin’.